Rotary tumblers, explained
A rotary tumbler turns a sealed barrel so stones slide over each other in grit and water, the same way a riverbed rounds off pebbles. Here is how it works, what to look for, and how to keep one running.
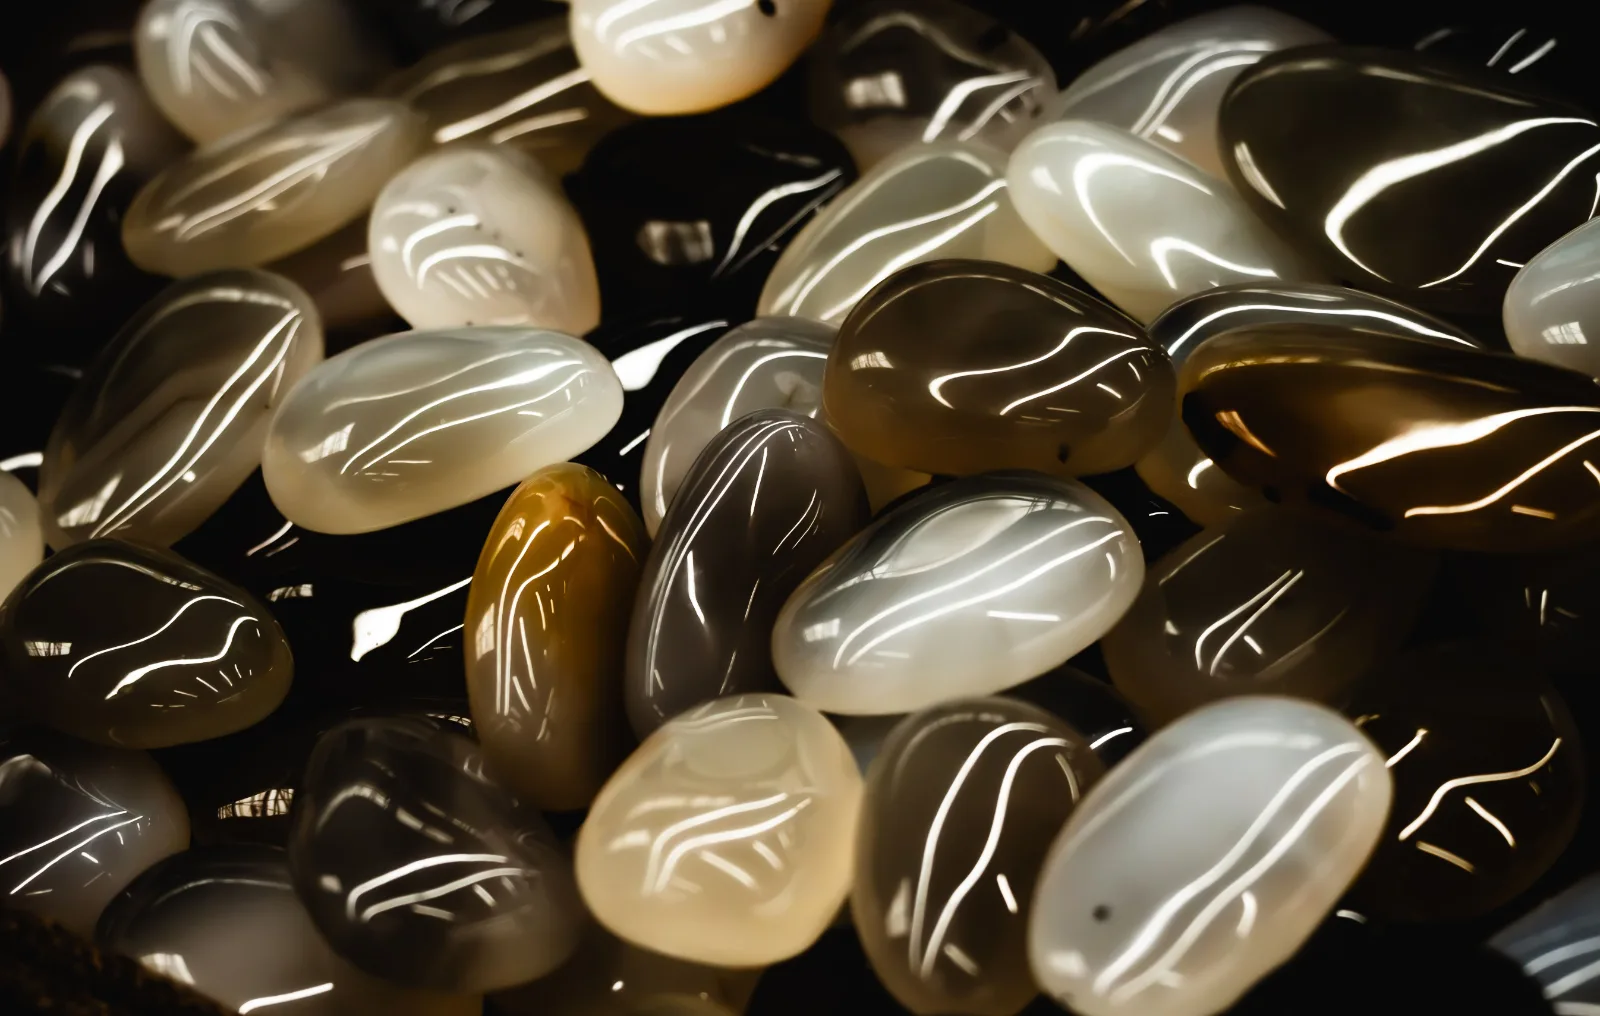
Slow rolling does the grinding
The barrel turns
A small motor drives two rollers. The barrel rests on top and turns slowly, so the load inside keeps sliding down its own slope.
The grit does the work
Silicon carbide caught between stones wears away rough edges. Each step uses a finer grit to remove the scratches left by the one before.
The shape changes too
Rotary tumbling rounds stones off. Expect smaller, smoother pebbles than you started with, which is ideal for rough rock.

What to look for
Most hobby tumblers will do the job. These details make four weeks of running a lot easier.
Rubber barrels run quieter than hard plastic and cushion the load.
Match the barrel to the rock you have. A 3 lb barrel is a good first tumbler.
A second barrel keeps polish away from coarse grit.
Choose a motor built for continuous running, since each step runs day and night for a week.
How much grit to use
Use about 2 tablespoons of grit per pound of rock, for every step. For a full barrel, that works out to:
1.5 lb barrel
3 lb barrel
6 lb barrel
15 lb barrel
The four-step rotary guide
This is the schedule we use for most agate, jasper and quartz in a rotary tumbler. Plan on about four weeks from rough rock to finished polish.
Load the barrel
Fill the barrel two-thirds to three-quarters full. Too empty and stones crash into each other. Too full and nothing moves.
Mix sizes. Small stones fill the gaps between larger ones and help the grit reach every surface.
Only tumble stones of similar hardness together. Soft stones will wear away next to agate.
Short on rock? Top up with ceramic spacers instead of running a half-empty barrel.
Add water until it sits just below the top layer of stones.
Steps 1 to 4
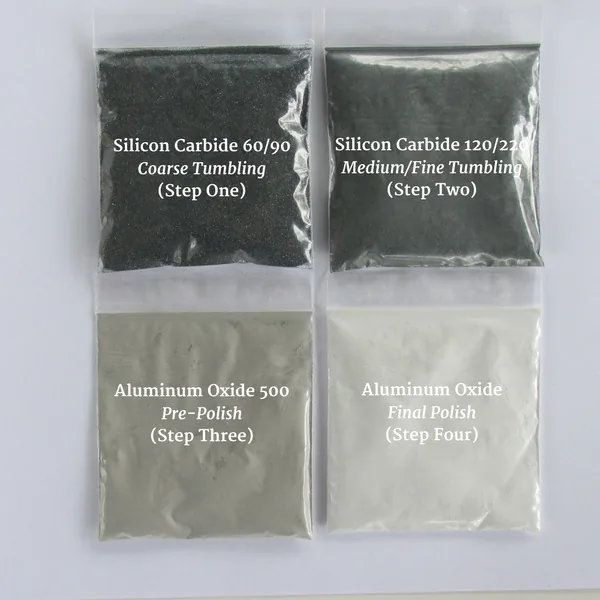
Coarse grind with SiC 60/90
Shapes the stones and removes pits and sharp edges. Open the barrel after a week. If stones still have rough spots, rinse and run another week with fresh grit.
Medium/fine with SiC 120/220
Erases the scratches from step one. Stones should come out smooth and evenly matte when dry.
Pre-polish with 500
Leaves a soft satin surface. Plastic pellets cushion the load so stones don't chip as they get smoother.
Final polish with aluminum oxide
Brings up the shine. Use a separate barrel for polish if you have one. A single grain of coarse grit can haze a whole batch. For extra shine, finish with a short burnishing run.
Between steps
Clean everything before the next grit goes in. Rinse the stones in a colander, then scrub the barrel and lid with an old toothbrush. Check stones for cracks and pull any that are broken, since they'll scratch the others.
Never pour slurry down the drain
Grit slurry settles in pipes and sets like concrete. Pour it into a bucket, let it dry, and throw it out with household trash. More on used grit and slurry.
Common problems
Stones came out hazy after polish
Usually leftover coarse grit. Clean the barrel well, then rerun step 3 and step 4.
The barrel leaks
Wipe the rim and lid dry before closing. Grit on the seal stops it from sealing.
Gas buildup or a swollen lid
Some stones release gas as they grind. Open the barrel every day or two during step one to let it vent.
Stones are chipped or bruised
The barrel is too empty, or the stones are too soft for the load. Add spacers or plastic pellets. How to fix chipped stones.
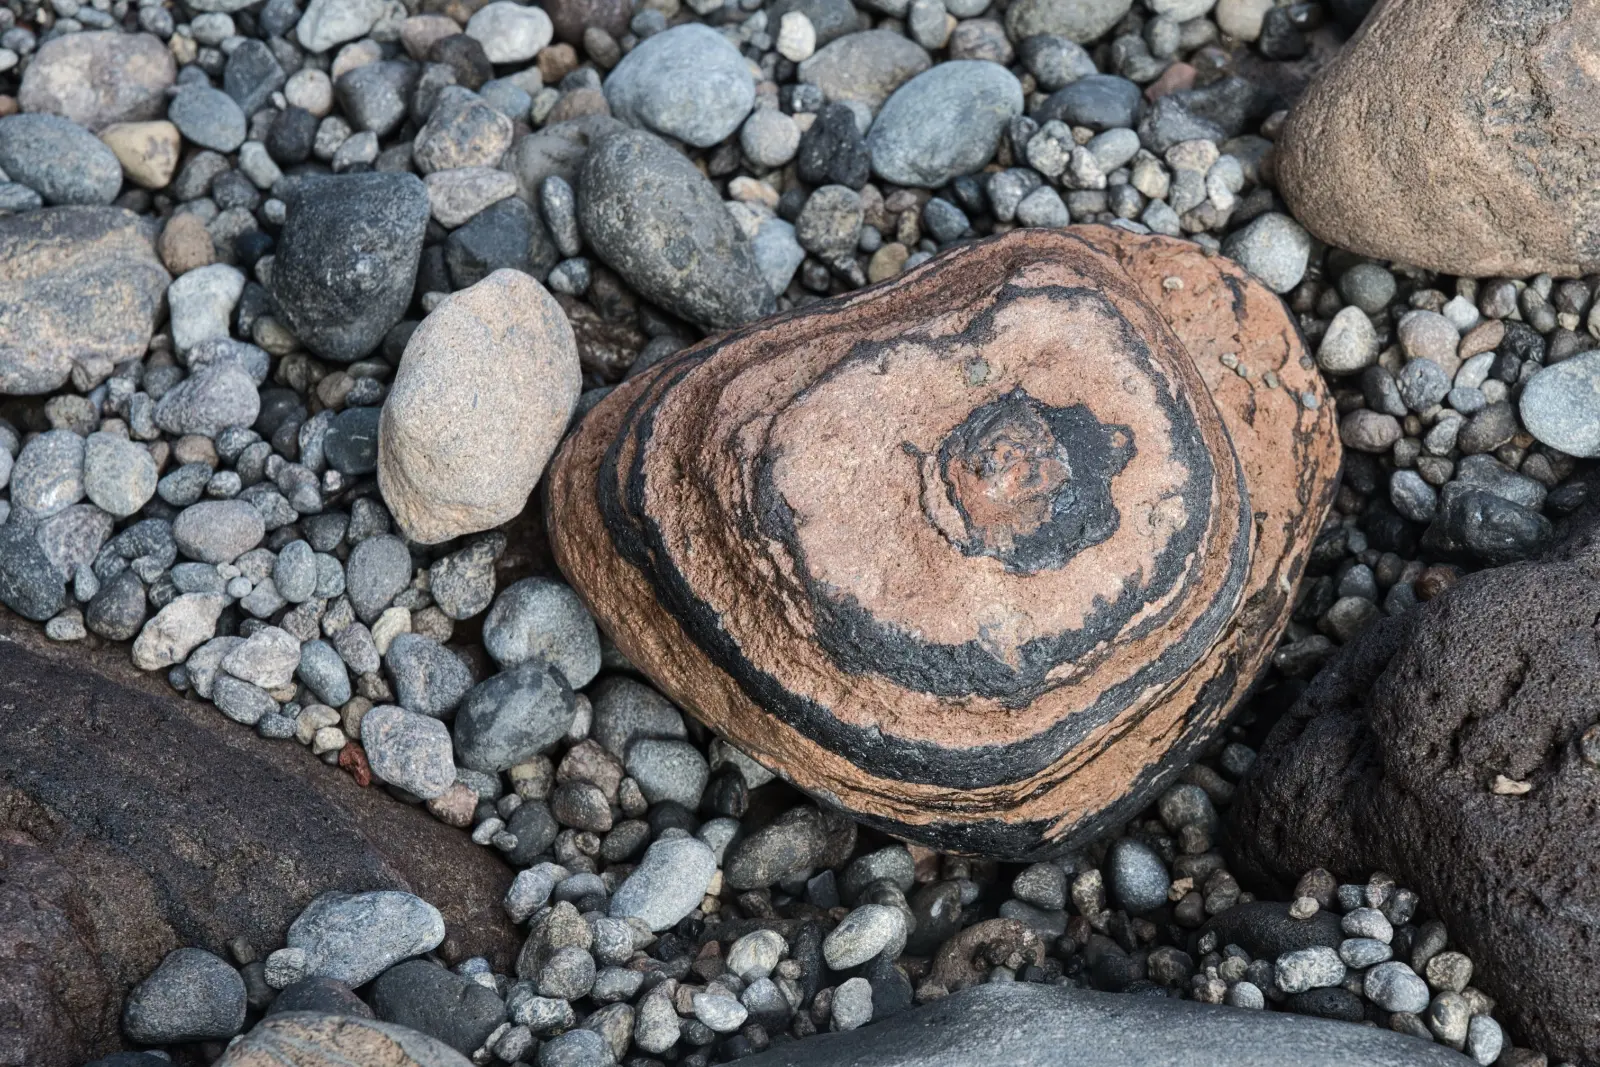
Keep it running
Check the barrel after the first day for leaks or a swollen lid, then every few days.
Keep the rollers and drive belt free of grit. Wipe up spills before they dry.
Set the tumbler on a level surface where the noise won’t bother anyone, like a garage or basement.
Replace a stretched or cracked belt as soon as the barrel starts to slip.
Don’t overload the motor
Stay within the rated weight. An overfilled barrel strains the motor and grinds unevenly.
Pick the tumbler for the finish you want
Rotary
Rounds and shapes rough rock. Slower, at about four weeks for the full sequence, and the most forgiving choice for beginners.
Vibratory
Keeps the original shape and finishes faster. Better for pieces that are already shaped, like cabochons, slabs or metal parts.
Not sure what your tumbler needs?
Send us your tumbler model and barrel size. We’ll tell you exactly how much grit to use for each step.